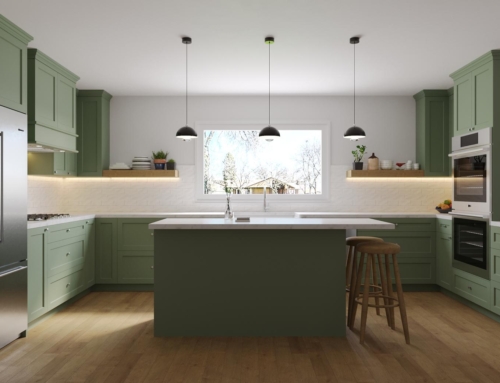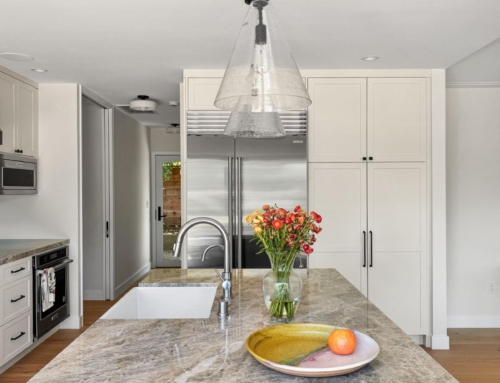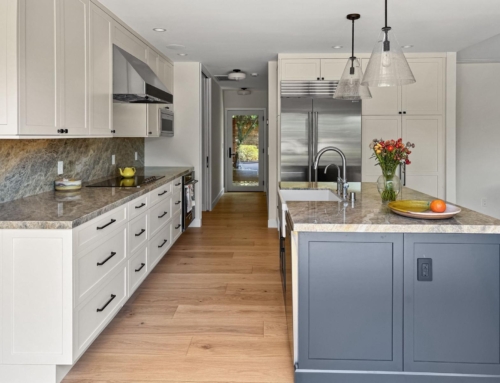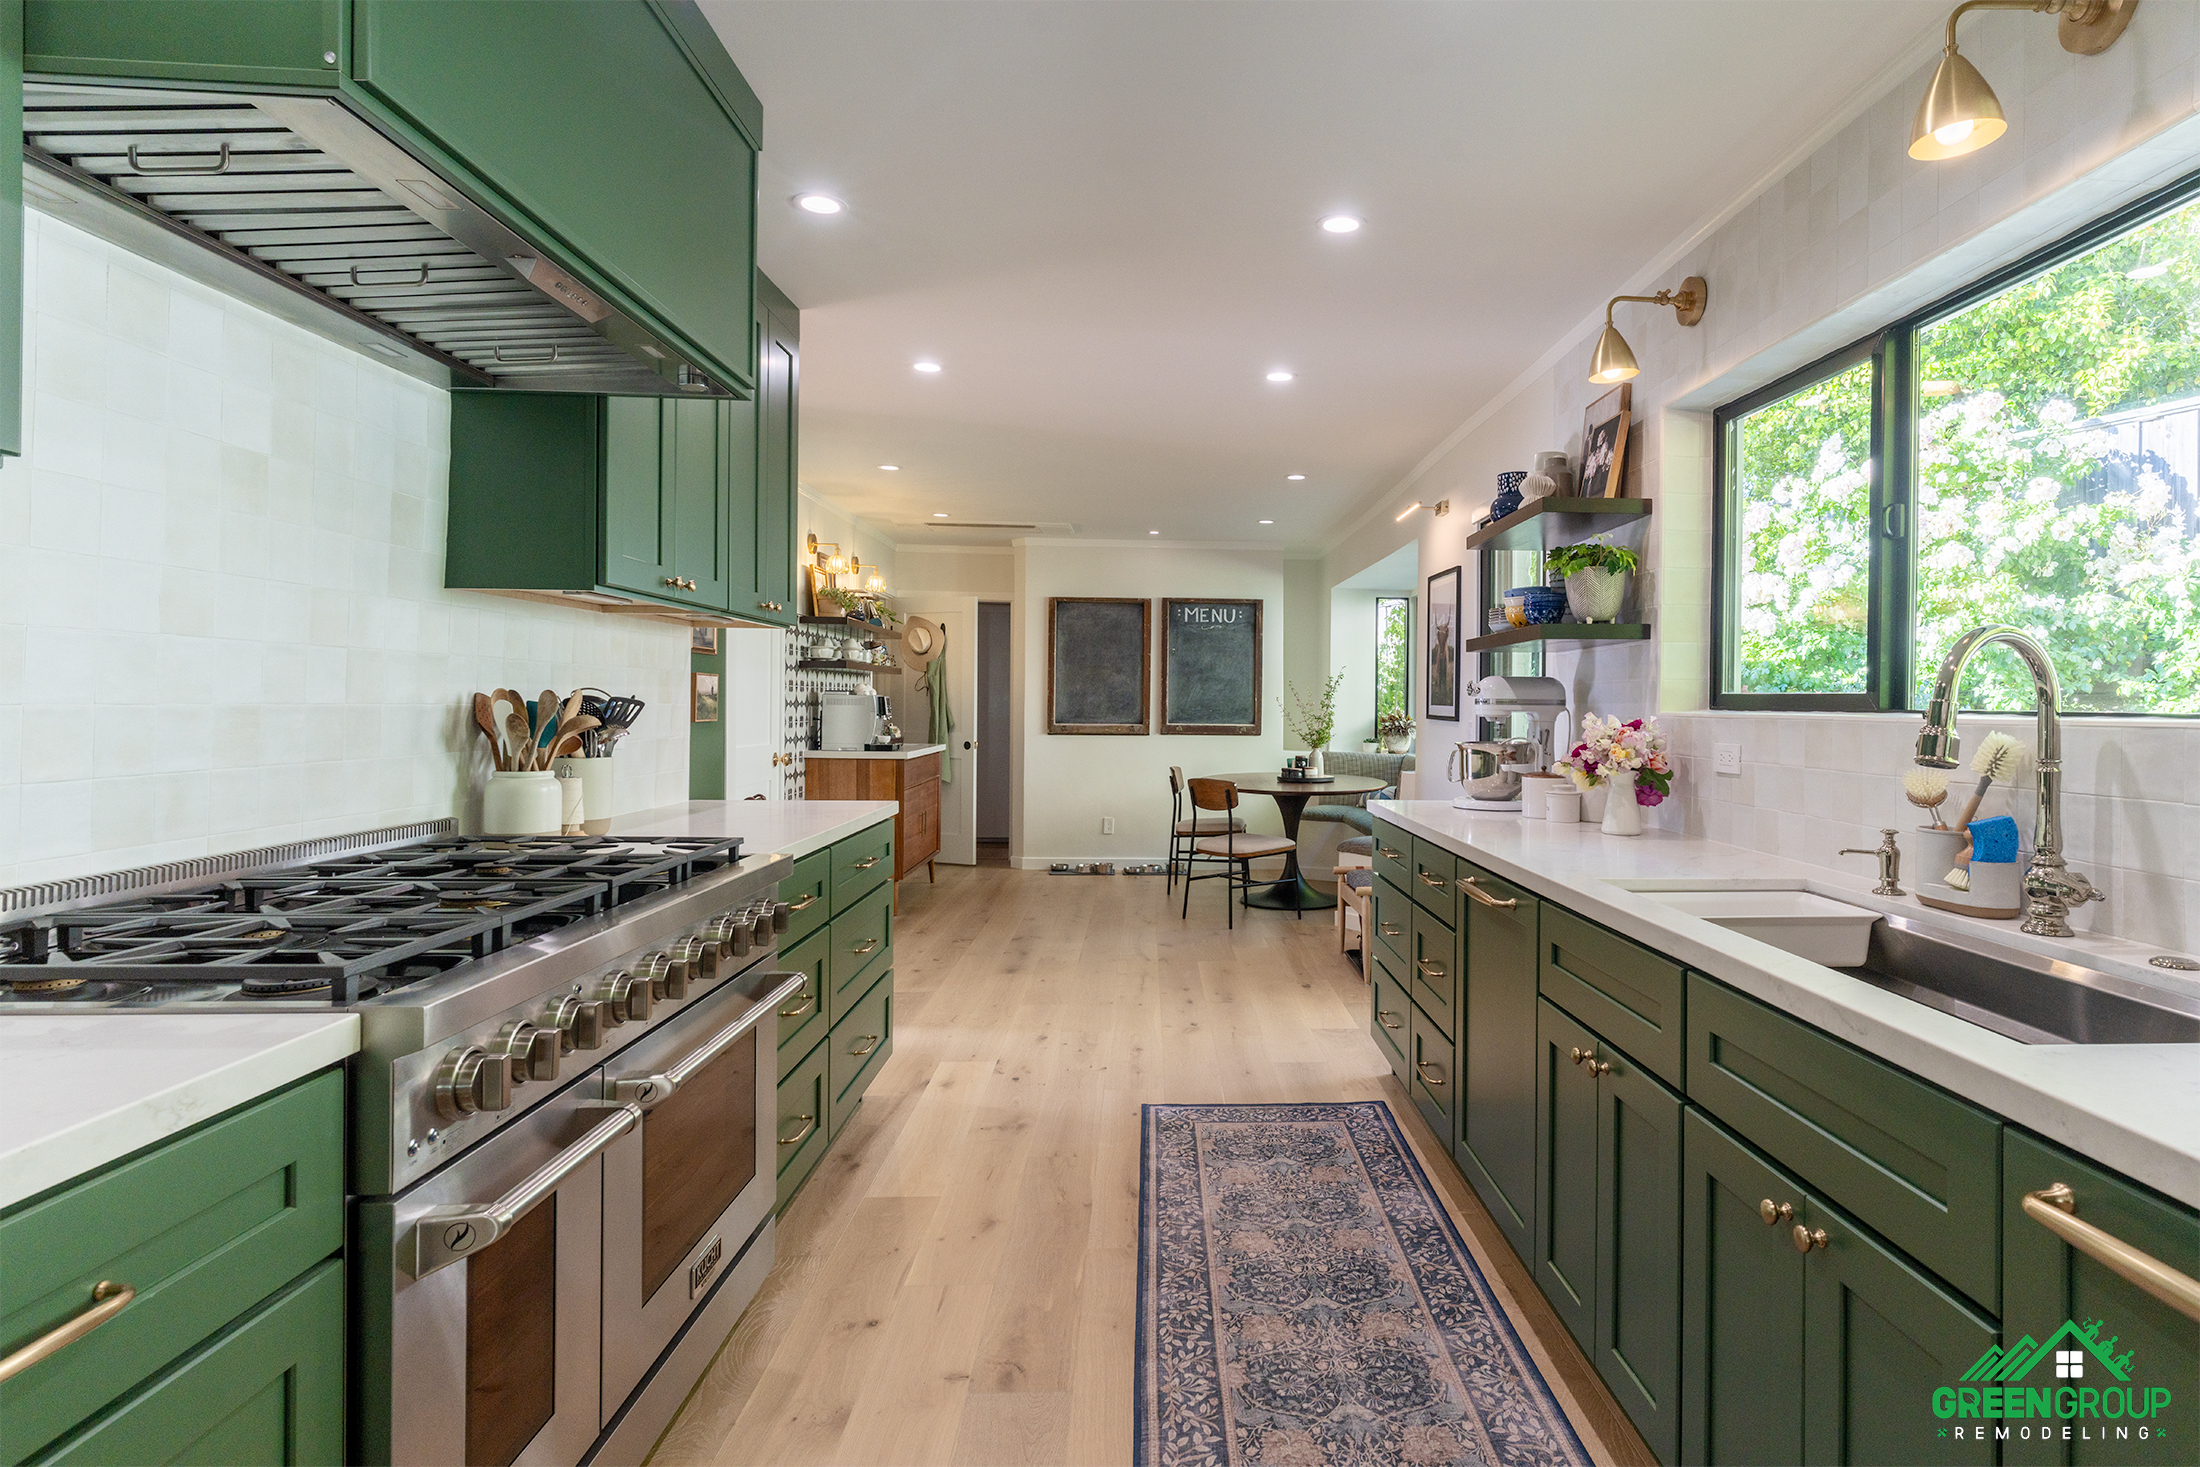
Opening a load bearing wall between the kitchen and living room is a popular renovation project that can completely change the feel of a home. An open-concept space allows you to enjoy better flow, increased natural light, and improved functionality. It’s perfect for entertaining and modern living. However, since load-bearing walls support the structural integrity of a home, removing or modifying them requires careful planning and execution.
Unlike removing a non-load-bearing wall, this type of project involves structural reinforcements, permits, and professional expertise to ensure safety and compliance with local building codes. Whether you’re planning a partial wall removal with a support beam or a complete wall elimination, the step-by-step process, costs, and structural considerations are essential before starting the renovation.
In this post, we’ll walk you through the process of opening a load bearing wall between the kitchen and living room, covering everything from determining if a wall is load-bearing to installing proper support beams and finishing the space.
So, You Have a Load-Bearing Wall… Now What?
It’s possible that the kitchen of your dreams requires opening a load bearing wall between kitchen and living room. At first, this can be overwhelming, but it doesn’t mean your open-concept dreams are out of reach—it just means you’ll need a structural plan to safely redistribute the weight it supports. Instead of simply knocking it down, you’ll need temporary supports during the process and a beam or columns to carry the load permanently.
Planning and Permitting
Before opening a load bearing wall between the kitchen and living room, it’s crucial to consult a structural engineer or licensed contractor to determine the best way to support the home’s weight after the wall is removed. Most cities require building permits for structural modifications, which typically involve submitting plans, getting approval, and scheduling inspections. Additionally, if the wall contains electrical wiring, plumbing, or HVAC ducts, these systems may need to be rerouted by a professional. Proper planning ensures compliance with local building codes and prevents costly mistakes down the line.
Temporary Supports and Structural Reinforcement
In the plans for opening a load bearing wall between the kitchen and living room, should be temporary supports. They must be installed to hold the weight of the structure while the new support system is put in place. This typically involves using adjustable steel jack posts or temporary wooden framing to prevent sagging or structural damage during the transition. Once the load is safely supported, a beam (LVL, steel, or engineered wood) is installed to carry the weight long-term, often resting on reinforced columns or load-bearing walls at either end.

Removing the Load-Bearing Wall: Step by Step
Once temporary supports are in place and the structural reinforcement plan is set, the process of removing the load-bearing wall can begin. This step must be done carefully to avoid damaging the surrounding structure, utilities, or flooring.
Step 1: Turn Off Utilities and Prepare the Space
If the wall contains electrical wiring, plumbing, or HVAC ducts, these systems must be safely disconnected or rerouted by a licensed professional before demolition begins. Clearing the area and protecting floors and nearby surfaces with drop cloths or plastic sheeting helps minimize dust and debris.
Step 2: Remove Drywall and Expose the Studs
Using a utility knife and pry bar, the drywall is carefully removed to expose the underlying framing. This step reveals the wall studs, wiring, and any hidden pipes that need to be addressed before proceeding.
Step 3: Cut and Remove Wall Studs
Once the drywall is removed, the vertical wall studs are cut and taken out section by section. At this point, the temporary supports are actively holding the structure’s weight, ensuring the ceiling and upper floors remain stable.
Step 4: Prepare for the Support Beam Installation
With the studs removed, the space is prepped for the new load-bearing beam or support system. Depending on the home’s structure, a reinforced header, steel beam, or laminated veneer lumber (LVL) beam will be installed to redistribute the load evenly.
Installing the New Support Beam
After opening a load bearing wall between the kitchen and living room, the next critical step is installing a new support beam to maintain the home’s structural integrity. The type of beam used—whether LVL (Laminated Veneer Lumber), steel, or engineered wood—depends on the weight it needs to carry and the span of the opening. The beam is carefully positioned where the old wall stood, typically resting on reinforced columns or existing load-bearing walls at each end. In some cases, additional footings may be required to handle the redistributed load. Once the beam is secured in place, the temporary supports are gradually removed, ensuring a smooth transition without shifting or settling.
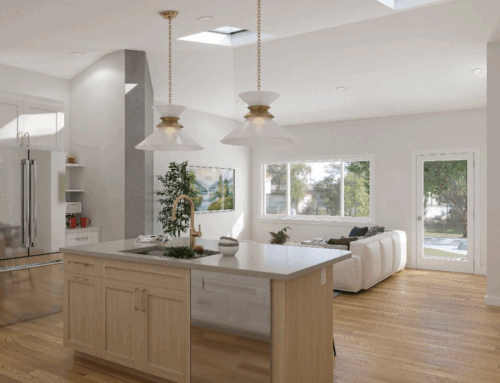
Finishing the Space
With the new support beam securely in place, the final step to opening a load bearing wall between the kitchen and living room is refinishing the area to seamlessly integrate the open-concept design. This process involves patching drywall, painting, updating flooring transitions, and making any necessary ceiling modifications to create a cohesive look. If columns or posts were added to support the beam, they can be incorporated into the design with decorative molding or built-in shelving.
Additionally, lighting updates may be needed to adjust for the newly opened space, such as installing recessed lighting, pendant fixtures, or under-cabinet lighting in the kitchen. Finally, any trim, baseboards, or crown molding should be reinstalled to ensure a polished, finished appearance. By carefully blending the new opening into the surrounding space, you can enjoy the modern, open-concept feel while maintaining the home’s architectural style and character.
Opening a Load Bearing Wall Between the Kitchen and Living Room with Confidence
Opening a load bearing wall between the kitchen and living room is a game-changing renovation that enhances natural light, functionality, and flow in your home. While the process requires careful planning, structural reinforcement, and expert installation, the result is a modern, open-concept space that adds value and improves daily living. By working with experienced professionals, securing the right permits, and following best practices, you can ensure a safe and successful remodel.
If you’re ready to create a more open and inviting home, Green Group Remodeling is here to help. Our expert team specializes in structural renovations and kitchen transformations tailored to your needs. Contact us today for a consultation and take the first step toward your dream living space!