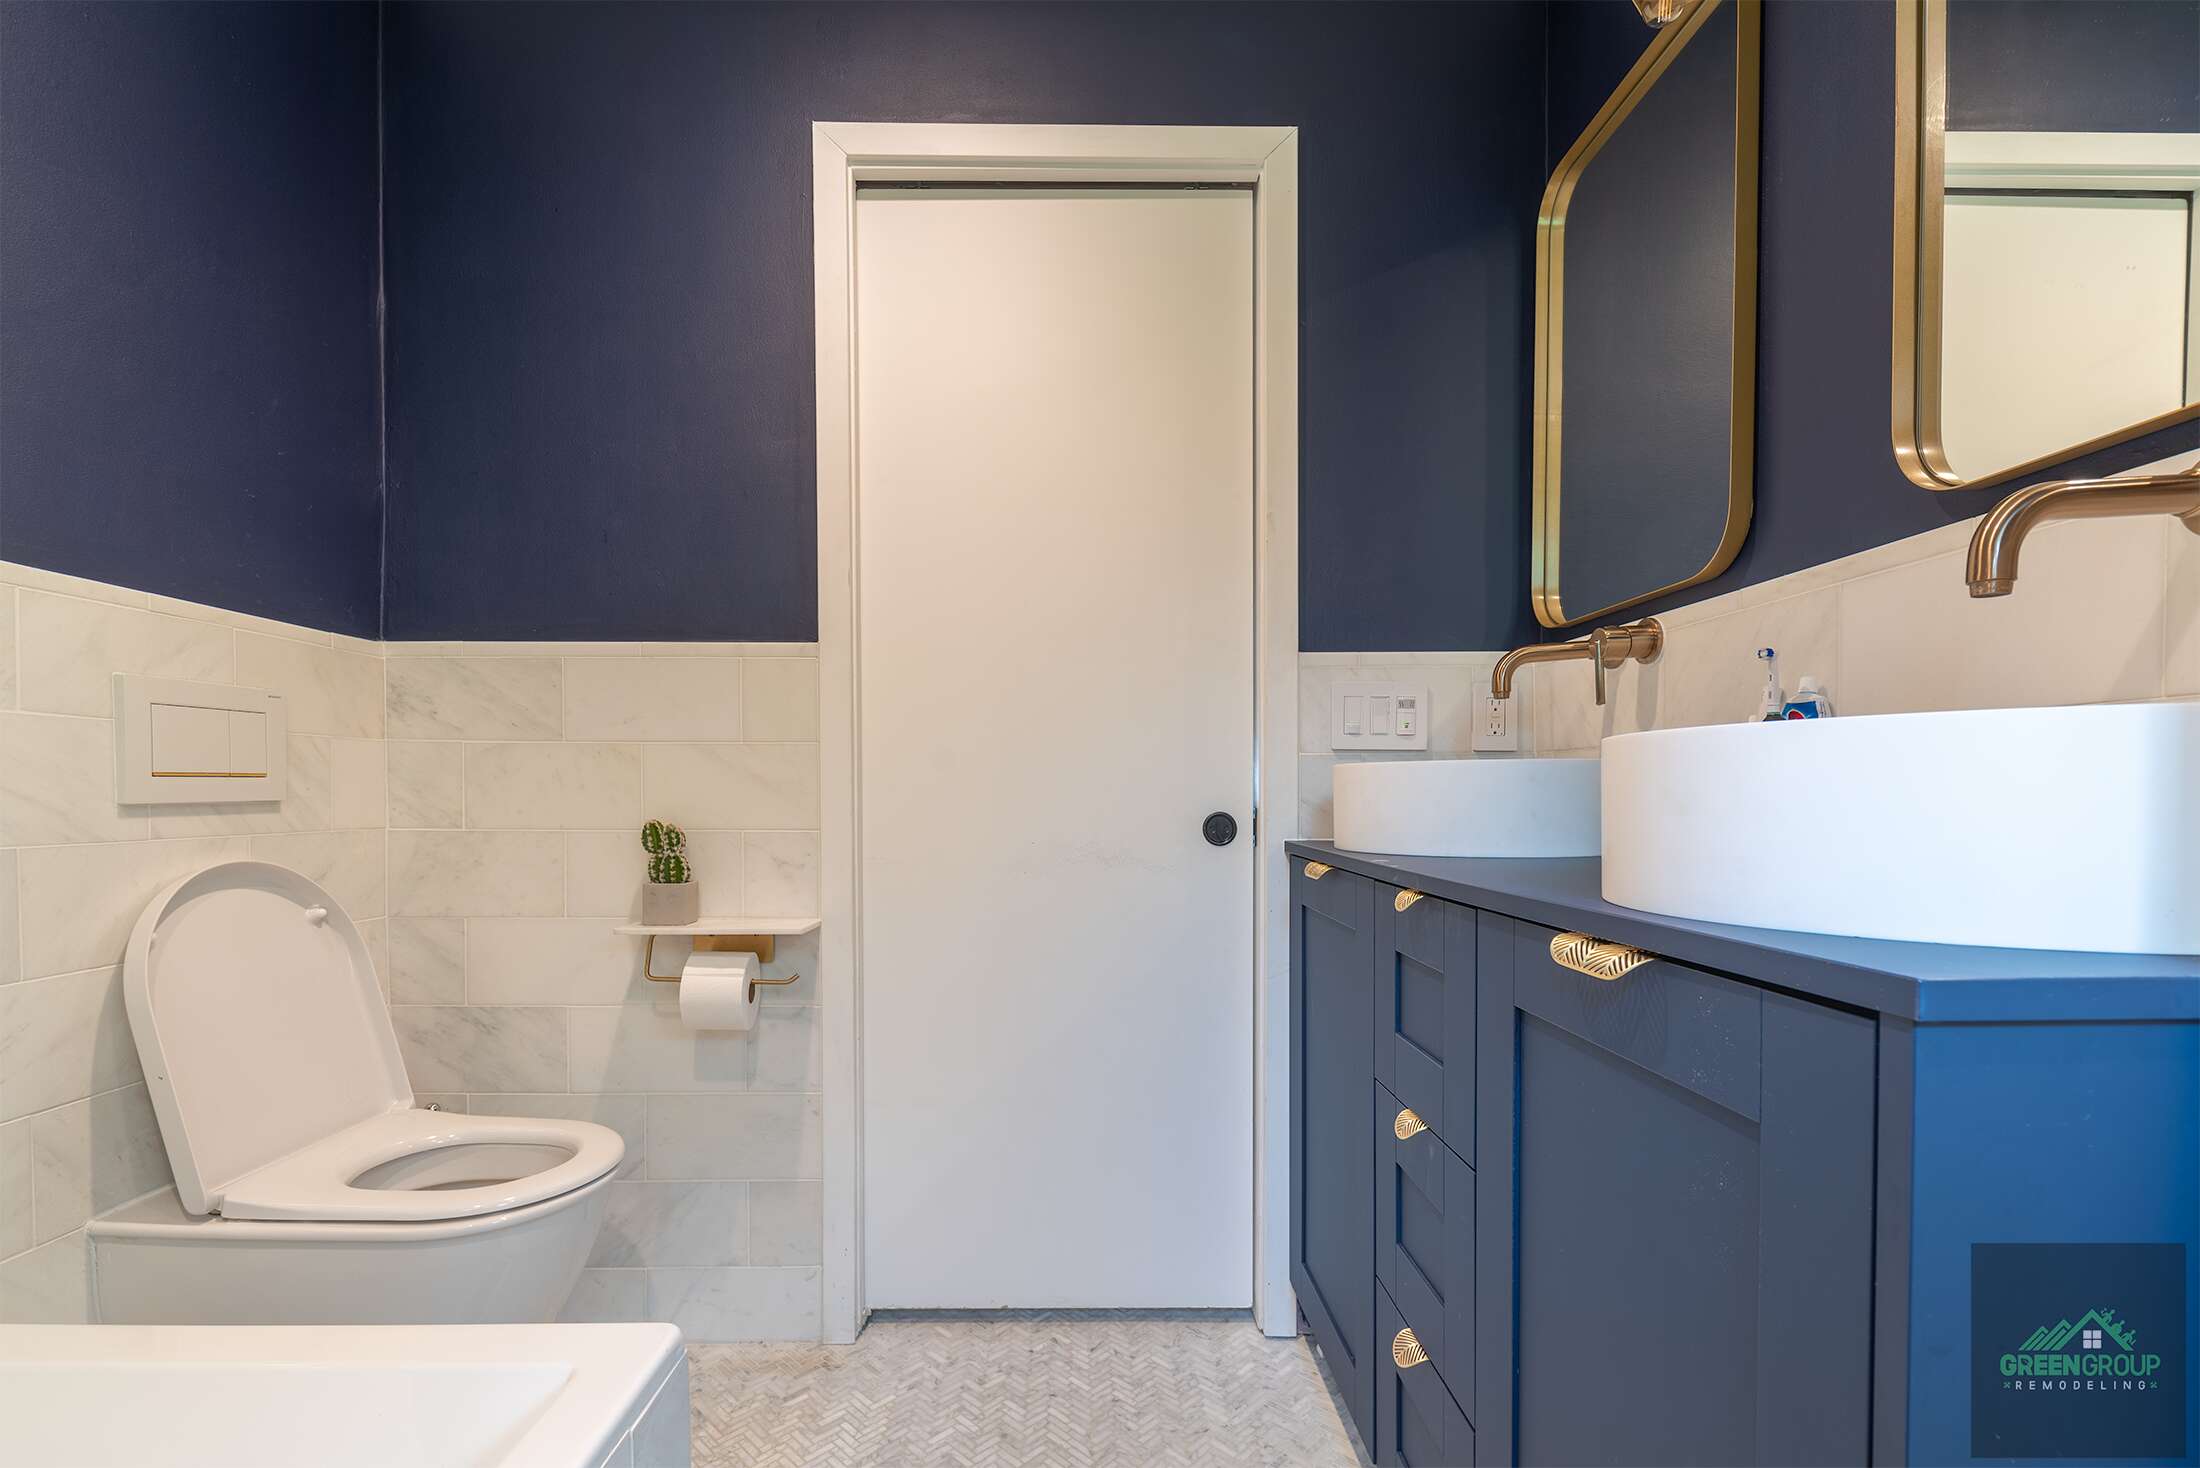
Undertaking a bathroom remodel can be both exciting and overwhelming. Whether you’re updating a dated space, improving functionality, or creating a personal oasis, a successful remodel requires careful planning and management. This essential guide is designed to help you navigate every step of the process, from initial inspiration to the final touches.
We’ll provide you with expert tips, practical advice, and actionable strategies to ensure your bathroom remodel is a resounding success. So, roll up your sleeves and get ready to transform your bathroom into a space that blends style, comfort, and efficiency. Let’s dive into the world of bathroom remodel guide!
Importance of Bathroom Remodeling and its Impact on Your Home’s Value
Strategic bathroom remodeling enhances your living experience and significantly boosts your home’s market value. A modern, well-designed bathroom can be a major selling point for potential buyers, often recouping a substantial portion of the investment.
According to the 2024 Cost vs. Value report from Zonda Media, bathroom remodels consistently rank among the top home improvement projects for return on investment, often yielding returns of up to 70-80%. Beyond financial gains, an updated bathroom improves functionality and comfort, catering to your personal needs and lifestyle.
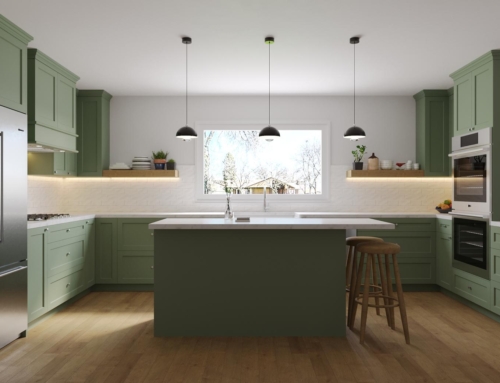
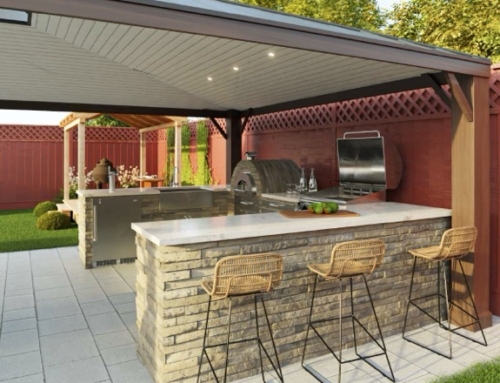
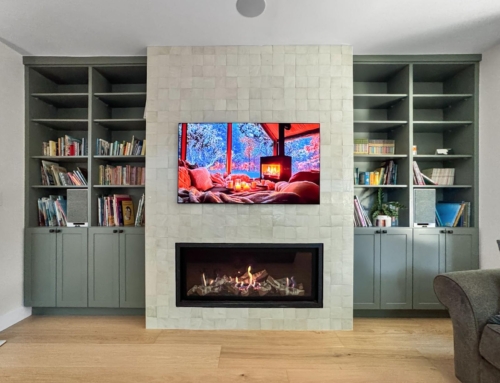
Affordable & Eco-Friendly Bathroom Remodeling Ideas!

Revitalize your bathroom sustainably and affordably! From water-saving fixtures to recycled materials, discover practical tips for a chic, environmentally conscious space. Elevate your bathroom with a conscience!
Planning and Design
The planning and design phase is the foundation for a successful bathroom remodel. Here, you’ll translate your vision into a concrete roadmap that guides construction and ensures a space that fulfills your needs.
Let’s explore this crucial stage:
Step 1: Define Your Goals and Budget
Setting the groundwork for your bathroom remodel involves clearly defining your objectives and establishing a realistic budget. This initial phase ensures that your project is focused and feasible, aligning your vision with your financial parameters.
Here’s how to get started:
- Initial Consultation: Meet with our experts to discuss your vision and requirements.
- Setting Priorities: Identify key aspects of the remodel that are most important to you.
- Budgeting: Establish a budget range based on your priorities and our detailed cost analysis.
By following these steps, you set the stage for a well-organized and successful bathroom remodel, tailored to your unique needs and financial parameters.
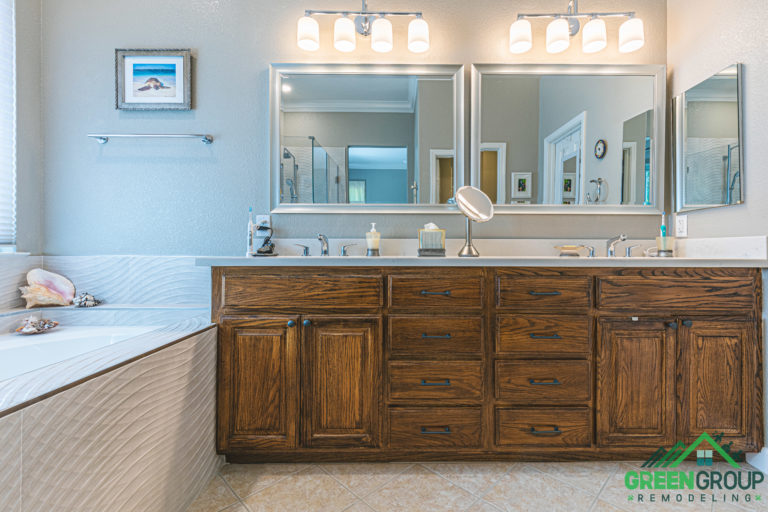
Step 2: Assess Your Current Bathroom
Before proceeding with the design phase, it’s crucial to thoroughly assess your existing bathroom. This evaluation helps you understand the space’s current state and identify any structural or functional issues that need to be addressed.
- Inspection: Conduct a thorough inspection of your existing bathroom.
- Evaluation: Identify structural strengths and limitations.
- Documentation: Document findings to inform design decisions.
Step 3: Explore Design Inspirations
With a clear understanding of your goals and the current state of your bathroom, it’s time to dive into the creative process. Exploring design inspirations helps you visualize the possibilities and make informed choices that reflect your personal style.
- Idea Gathering: Explore a wide range of design inspirations by reviewing our extensive portfolio and current design trends. This is the creative phase where you can gather ideas, pinpoint styles you love, and envision different possibilities for your new bathroom. Drawing inspiration from various sources helps in crafting a unique and personalized design.
- Visualization: Utilize advanced 3D rendering tools to visualize potential changes. Seeing a virtual representation of your remodel allows you to experiment with different layouts, color schemes, and fixtures without any commitment. This step is invaluable for making informed decisions and ensuring that the final design aligns with your vision.
- Selection: Choose design elements that resonate with your style and meet your functional needs. From tiles and countertops to lighting and cabinetry, each selection should reflect your personal taste and enhance the overall aesthetic of the bathroom. This curated approach ensures that every detail contributes to a cohesive and harmonious design.
By following these steps, you create a solid foundation for a bathroom remodel that is both beautiful and functional, tailored to your specific needs and preferences.
Step 4: Create a Detailed Plan
With a clear vision and a thorough understanding of your current bathroom’s condition, the next step is to create a detailed plan. This stage involves meticulous planning of the layout, careful selection of materials, and establishing a realistic timeline. A well-crafted plan ensures that every aspect of your remodel is accounted for, minimizing surprises and keeping the project on track.
- Layout Planning: Draft multiple layout options considering both functionality and aesthetics. Our experts will work with you to create designs that optimize space, improve flow, and incorporate your desired features. Each layout will be carefully evaluated to ensure it meets your needs and enhances the overall look of your bathroom.
- Material Selection: Choose materials based on durability, aesthetics, and budget. From tiles and countertops to fixtures and fittings, selecting the right materials is crucial for both the look and longevity of your remodel. Our team will guide you through the options, helping you balance style with practicality and ensuring your choices align with your budget.
- Timeline Establishment: Develop a project timeline with clear milestones. Establishing a realistic timeline helps manage expectations and ensures that each phase of the remodel progresses smoothly. We’ll outline key stages, from demolition to final touches, providing a roadmap that keeps the project on schedule and minimizes disruptions to your daily life.
By creating a detailed plan, you set the stage for a seamless and efficient remodel, ensuring that every detail is thoughtfully considered and executed to perfection.
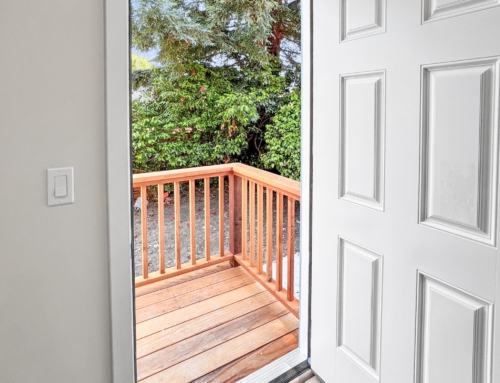
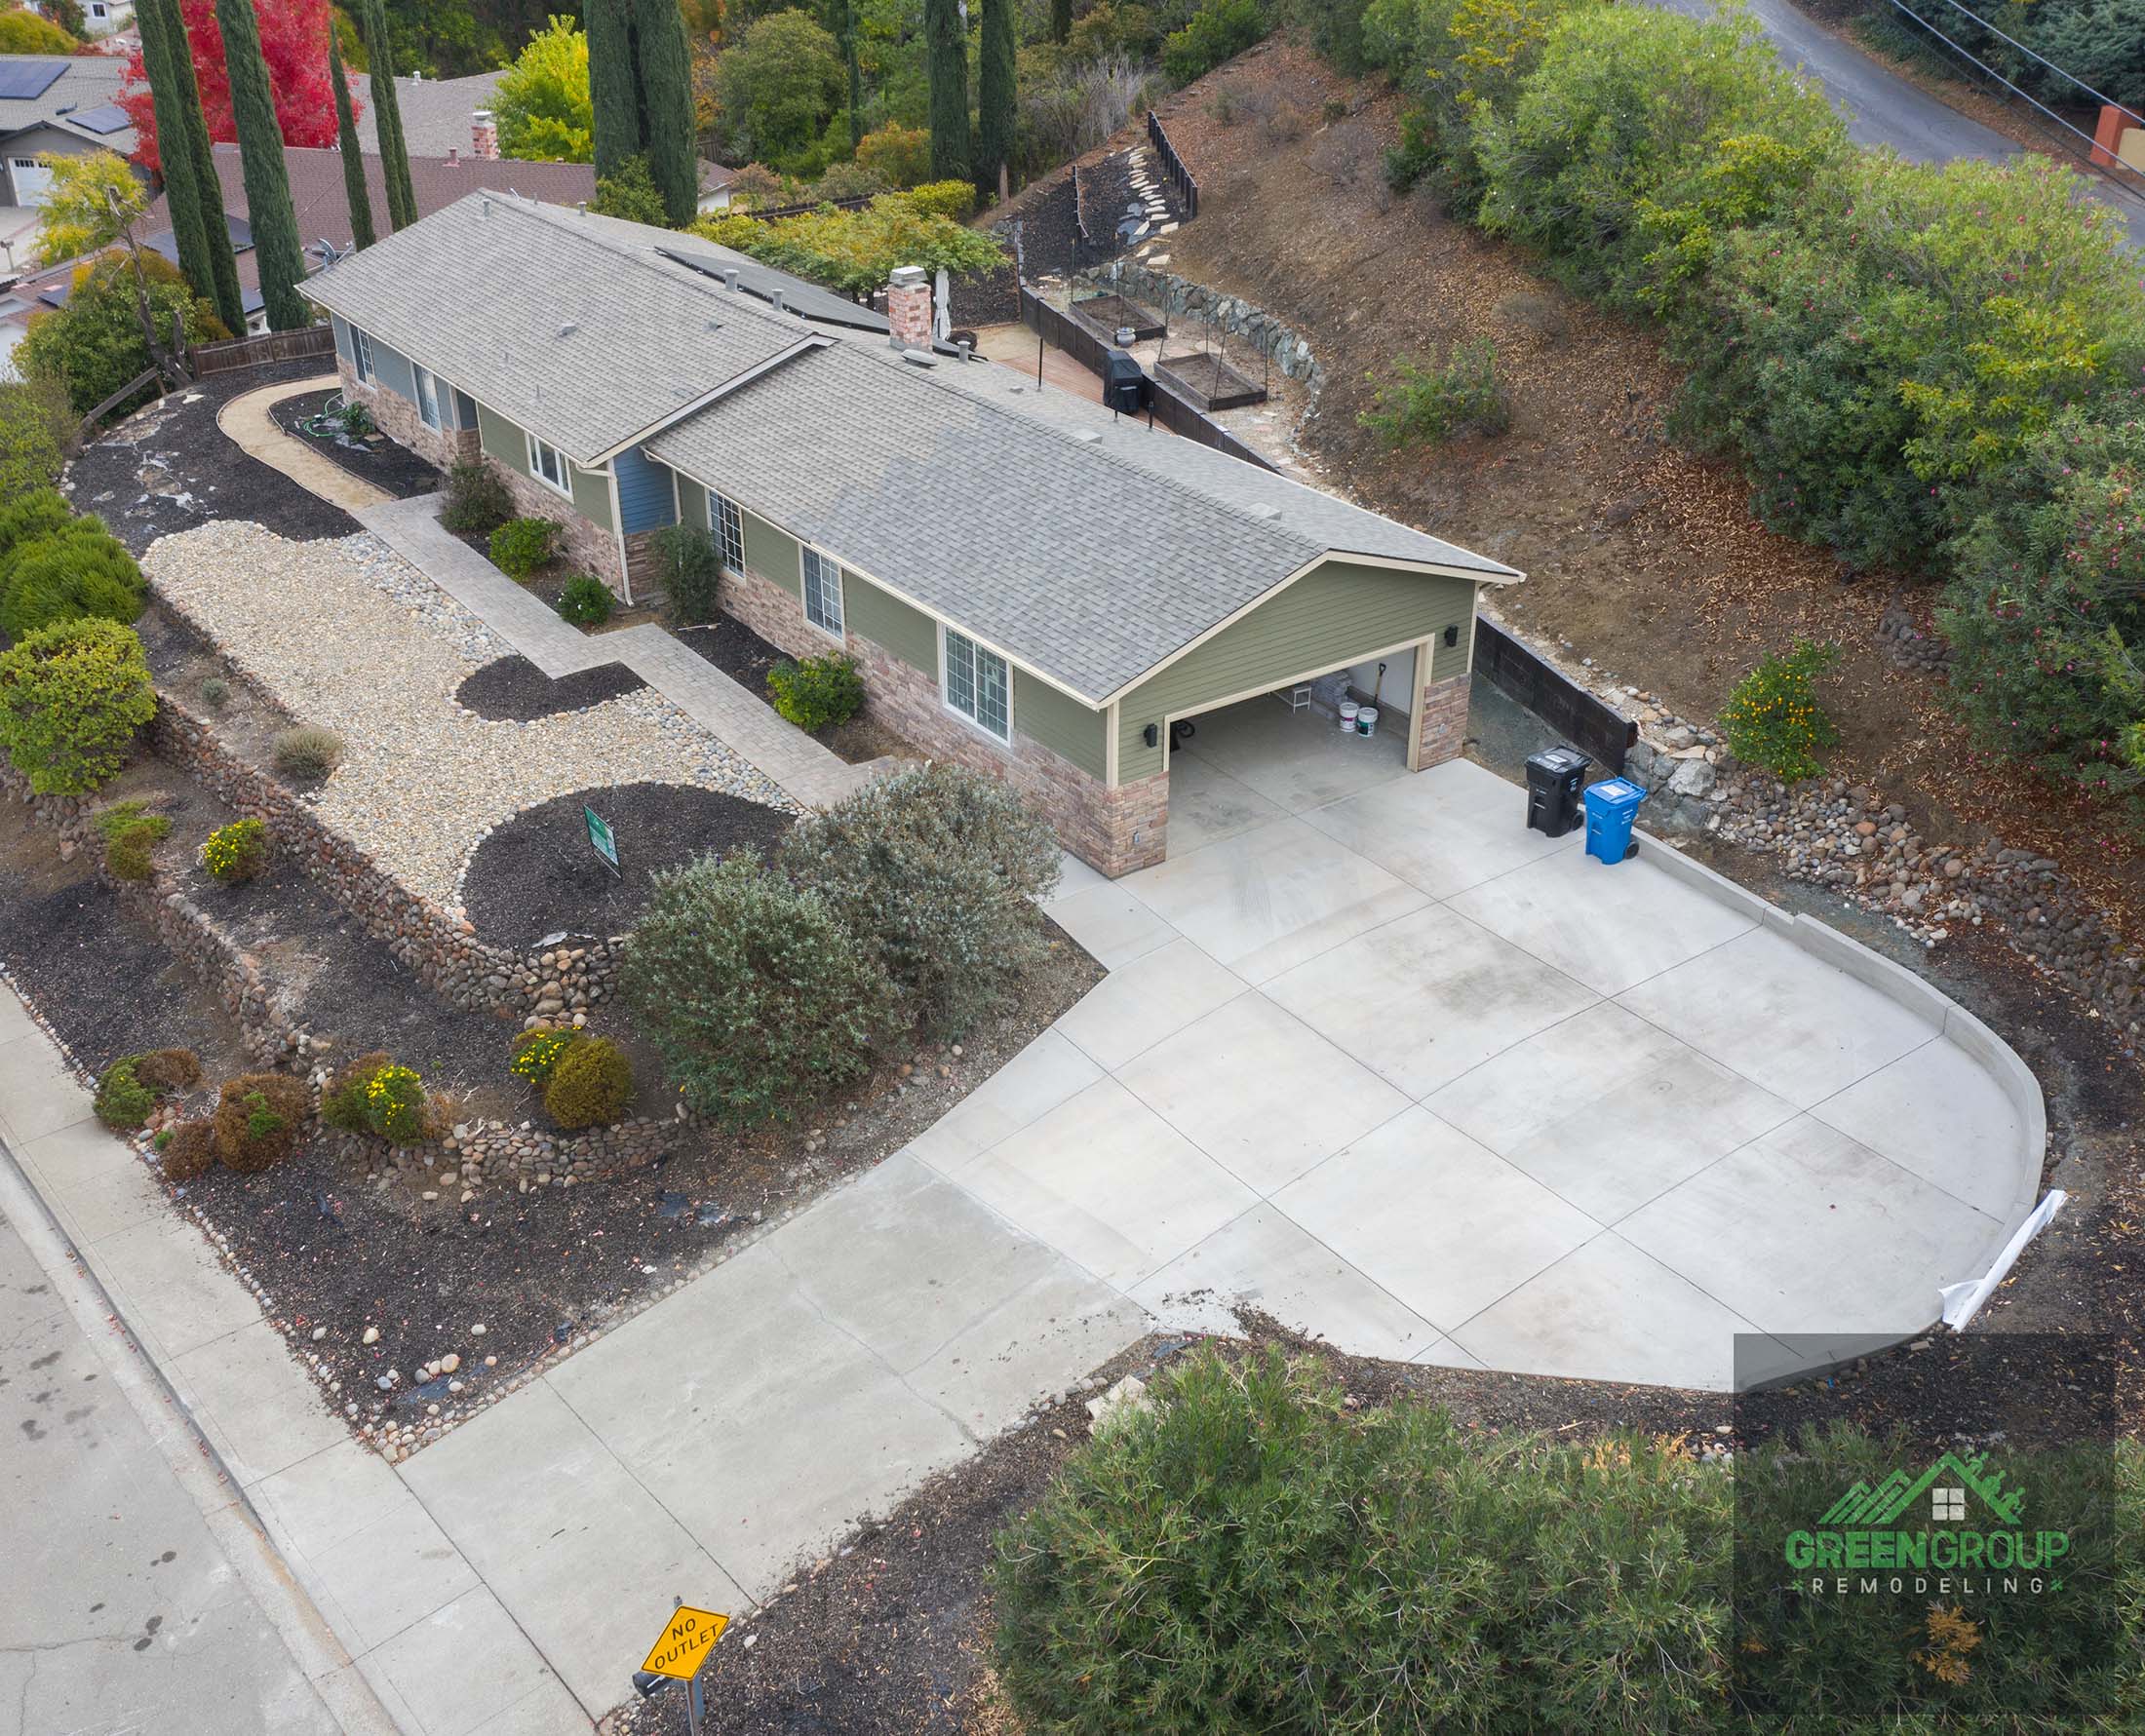
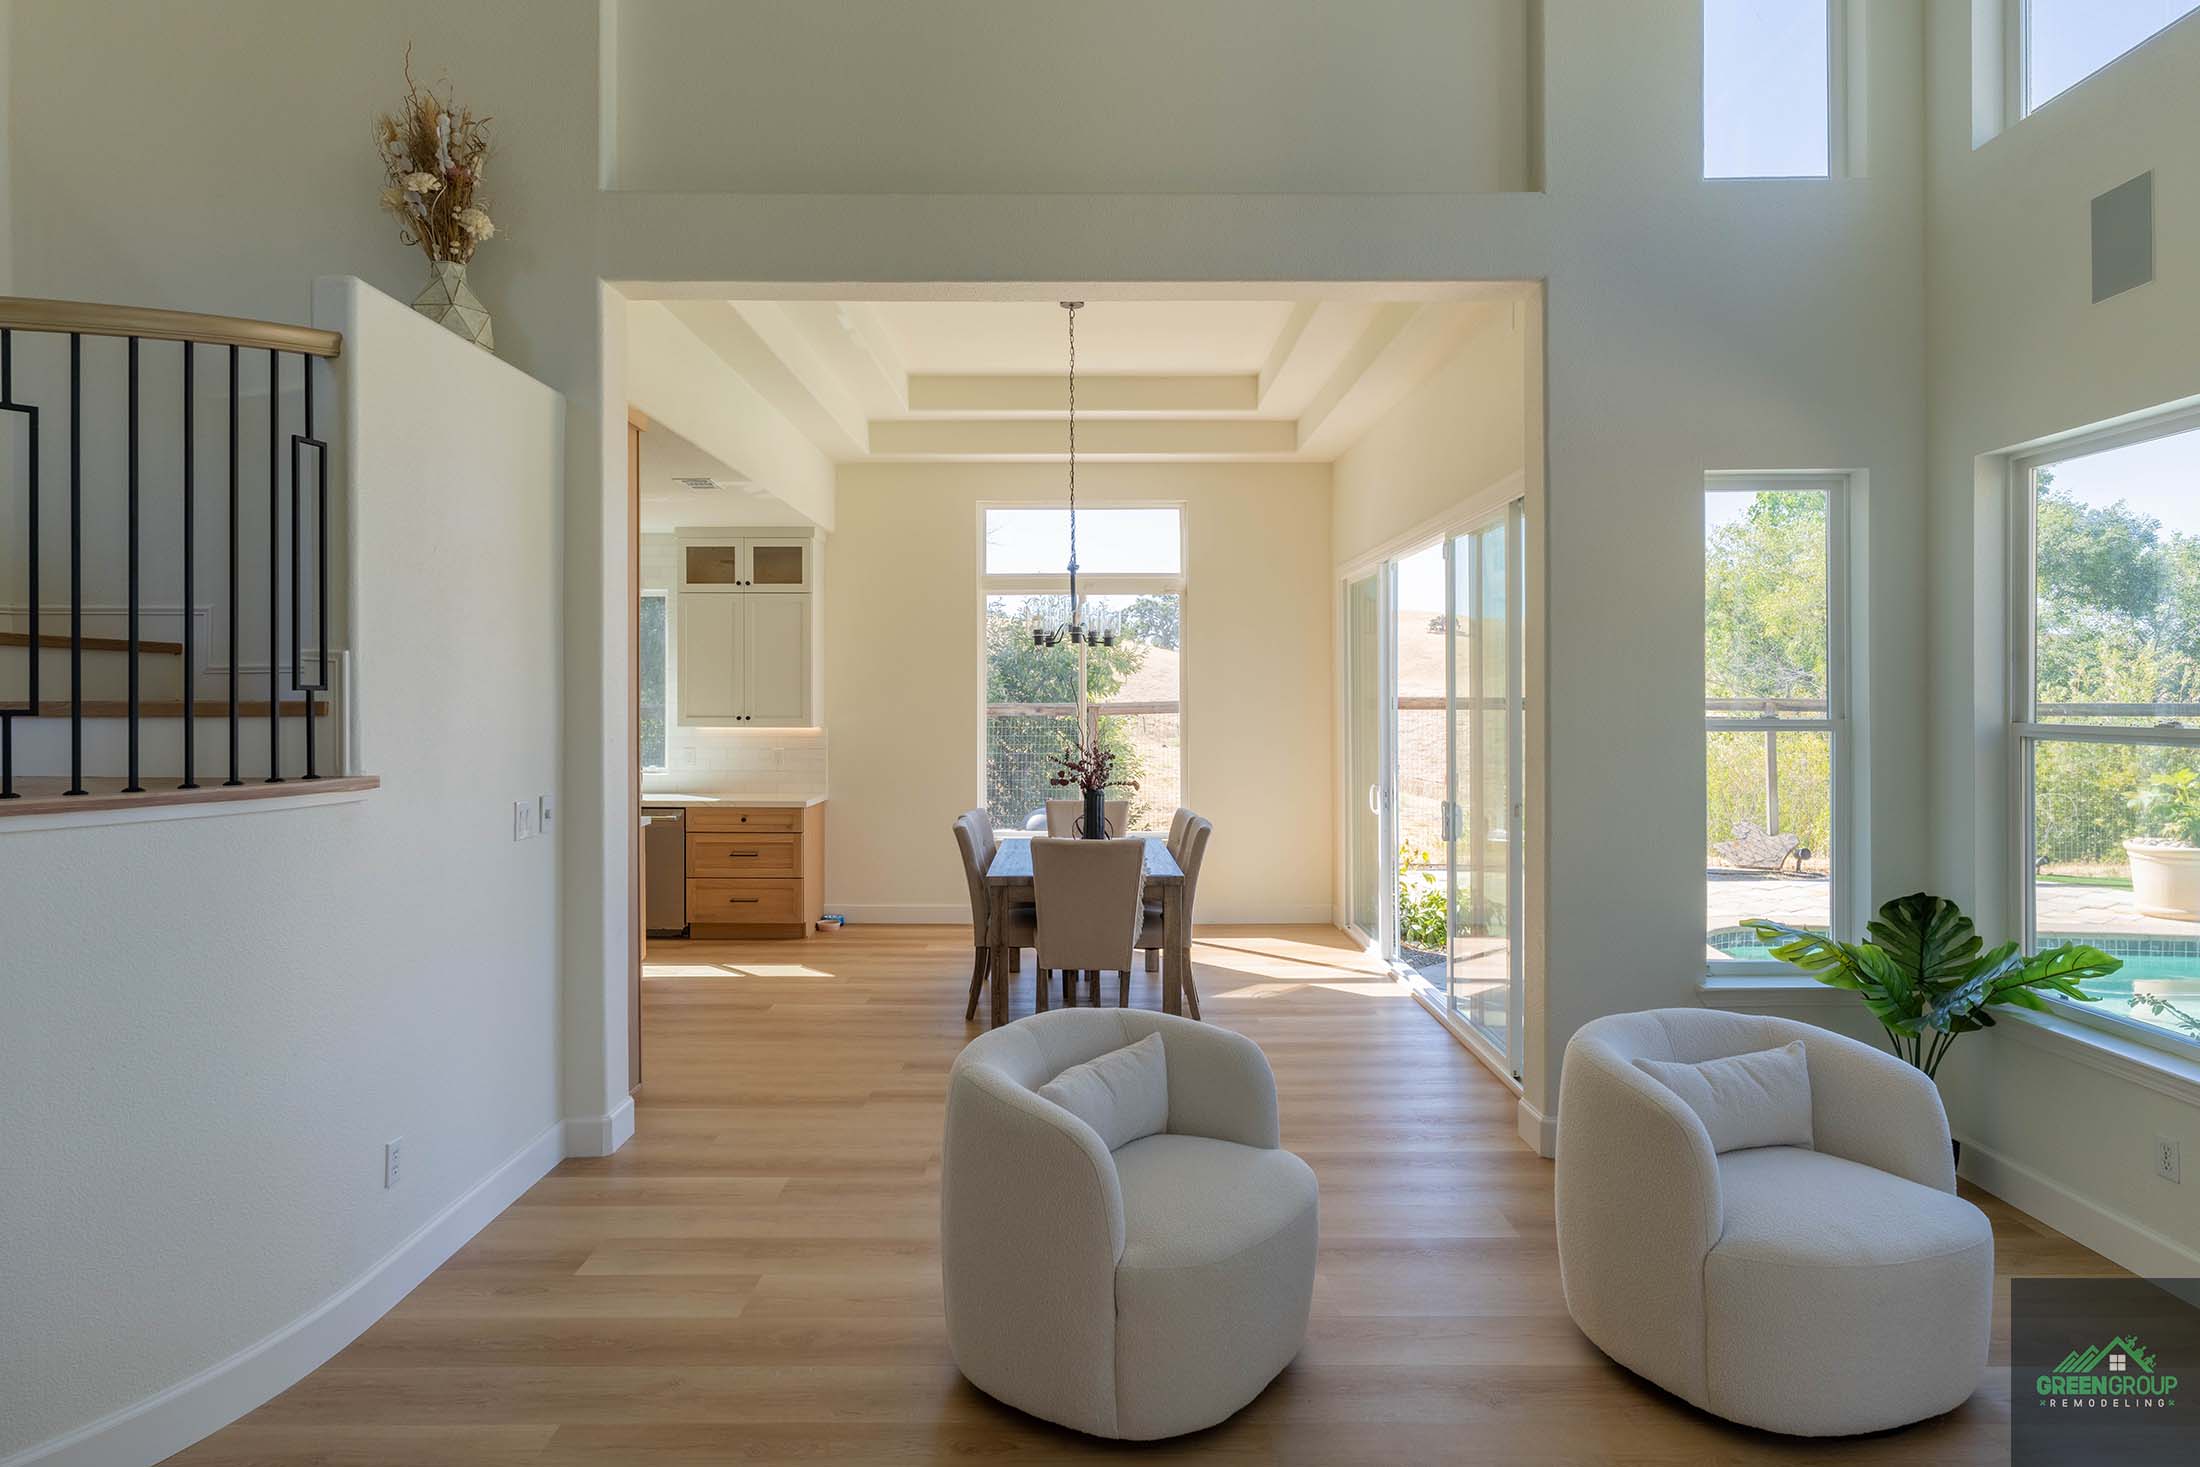
TRANSFORM YOUR FULL HOUSE TODAY!
Let us help you transform your house into the home of your dreams with our full house remodel services!
Experience the ultimate upgrade for your living space – from top to bottom, we’ve got you covered!
Demolition and Preparation
Once you’ve planned and designed your dream bathroom, it’s time to translate your vision into reality. The demolition and preparation phase preps your existing space for the exciting remodel to come.
In this section, we’ll guide you through the steps involved in prepping your bathroom for construction, ensuring a smooth and efficient renovation process.
Step 1: Obtain Necessary Permits
Before any demolition or construction work commences, securing the required permits from your local building department is crucial. Obtaining permits ensures your project adheres to safety regulations and building codes.
Here’s what you need to know:
- Contact Your Local Building Department: Reach out to your city or county’s building department to inquire about permit requirements for bathroom remodels. They can provide specific details and application forms.
- Identify Required Permits: Depending on the scope of your project, you might need permits for plumbing changes, electrical work, structural modifications, or demolition.
- Prepare Required Documents: The permit application process typically involves submitting detailed drawings of your new bathroom layout, material specifications, and contractor information. In some cases, additional documents like structural engineering reports may be required.
- Factor in Permit Lead Time: The permit application review process can take several weeks. Plan accordingly and factor in this lead time before scheduling demolition or construction work.
- Consult a Professional: If you’re unsure about navigating the permit process, consider consulting with your contractor or a licensed architect or engineer. They can guide you through the requirements and ensure your application is complete.
Obtaining the necessary permits upfront prevents delays and potential fines during your bathroom remodel. By working with your local building department and potentially a qualified professional, you can ensure a smooth and compliant renovation process.
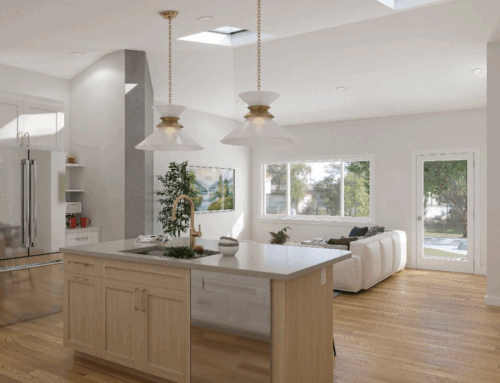
Elevate your living space with our innovative room addition designs.
Trust Green Group Remodeling to bring your room addition vision to life, beautifully and efficiently.
Our team of experienced designers and remodelers will guide you through every step of the process, ensuring that your dream becomes a reality.
Step 2: Protect and Prepare the Work Area
Before the demolition begins, it’s crucial to safeguard your bathroom surroundings and minimize dust and debris. Here’s how to effectively protect and prepare the work area:
- Containment is Key: Install plastic sheeting or dust barriers throughout the bathroom doorway and extend them into the adjacent hallway or room. Secure them tightly with tape to create a sealed work zone.
- Safeguard Your Belongings: Remove anything you can from the bathroom, including toiletries, towels, and decorative items. For larger items that can’t be easily removed, cover them completely with dust sheets or plastic drop cloths.
- Protect Flooring: Use drop cloths or heavy-duty plastic sheeting to cover floors in the bathroom and surrounding areas. This will prevent dust, debris, and potential water spills from damaging your flooring.
- Turn Off the Water Supply: Locate the shut-off valve for your bathroom’s water supply and turn it off completely. This will prevent accidental leaks during demolition and ensure safety during plumbing work.
- Remove Accessible Fixtures: If possible, carefully remove any bathroom fixtures you plan to replace, such as toilets, vanities, or medicine cabinets. This will prevent damage during demolition and make the removal process easier.
- Label Everything: If you’re disconnecting any electrical wiring or plumbing lines (with the help of a qualified professional), clearly label them before disconnecting to ensure proper reassembly later.
By following these steps, you’ll create a safe and contained work environment, minimizing disruption to your home and protecting your existing features from demolition dust and debris. This preparation ensures a smooth transition to the next stage of your bathroom remodel.
Step 3: Demolition and Removal of Existing Fixtures
With the demolition phase, the transformation of your bathroom truly begins! This step involves carefully removing the existing fixtures and materials to make way for your new design.
Here’s what to expect:
- Safety First: Ensure all utilities (water, gas, electricity) are turned off and properly capped before demolition begins. Wear appropriate safety gear like gloves, eye protection, and a dust mask to protect yourself from debris.
- Start with Disconnect and Removal: A qualified plumber, electrician, or contractor should disconnect plumbing lines and electrical wiring from fixtures slated for removal. This ensures a safe and controlled demolition process.
- Demolition: Depending on the materials involved, demolition might involve carefully removing drywall, tile, bathtubs, showers, toilets, vanities, and flooring. For larger fixtures, professional help might be necessary to ensure safe and efficient removal.
- Dispose of Debris Responsibly: Construction debris can be heavy and bulky. Depending on your local regulations, you might need to rent a dumpster for proper disposal of debris. Alternatively, some contractors can handle debris removal as part of their services.
Important Note: If you suspect the presence of asbestos, lead paint, or other hazardous materials in your bathroom, stop all demolition work immediately and contact a certified professional for abatement following environmental safety regulations.
Plumbing and Electrical Work
Now that the demolition phase has cleared the way, it’s time to focus on the essential hidden infrastructure of your bathroom: plumbing and electrical systems. This stage sets the groundwork for a functional and safe bathroom, ensuring proper water flow, proper drainage, and adequate lighting and power.
This section will delve into the key considerations for successful plumbing and electrical work during your bathroom remodel.
Step 1: Rough-In Plumbing and Electrical Lines
The rough-in stage establishes the underlying plumbing and electrical infrastructure for your new bathroom. This critical step ensures proper water flow, drainage, and electrical functionality for your fixtures.
Here’s a closer look at the process:
- Planning and Layout: Your plumber and electrician will meticulously plan the layout for your new plumbing lines, drainage pipes, electrical wires, and switch boxes. This layout considers the placement of your new fixtures like sinks, toilets, showers, bathtubs, and lighting to ensure optimal functionality and aesthetics.
- Installation and Testing: Once the layout is finalized, skilled professionals will install the necessary rough-in components. This might involve running new water supply lines, drain lines, vent pipes, electrical wires, and installing switch boxes and junction boxes. After installation, all plumbing lines will be pressure tested to ensure they are leak-free, and electrical circuits will be tested for proper grounding and functionality.
- Inspections and Approvals: Before any walls are closed up, a certified inspector will visit your bathroom to review the rough-in plumbing and electrical work. Their approval ensures your remodel adheres to safety codes and regulations.
- Benefits of Professional Rough-In: While the process might seem technical, entrusting rough-in work to licensed plumbers and electricians guarantees a safe and functional bathroom. Their expertise ensures proper installation, minimizes the risk of leaks or electrical problems later, and provides peace of mind during the construction process.
Step 2: Installation of Plumbing Fixtures
Now that the groundwork is laid with the rough-in plumbing complete, it’s time to install the beautiful fixtures that will elevate your bathroom’s form and function. This step involves meticulous placement and connection of your chosen sinks, toilets, bathtubs, showers, and other plumbing elements.
- Selecting the Perfect Fixtures: This exciting stage allows you to bring your design vision to life by choosing the perfect plumbing fixtures. Consider factors like style, functionality, durability, and finish. Your contractor or a qualified showroom consultant can assist you in selecting fixtures that not only complement your design scheme but also meet your specific needs and budget.
- Precision Installation and Connections: Once you’ve finalized your selections, skilled plumbers will meticulously install your chosen fixtures. This involves carefully positioning each piece according to manufacturer specifications and ensuring secure connections to the pre-installed rough-in plumbing lines.
- Leak Testing and Functionality Checks: After installation, all plumbing connections will be thoroughly pressure tested to identify and rectify any potential leaks. Additionally, plumbers will test the functionality of faucets, toilets, showerheads, and other fixtures to ensure smooth operation and proper water flow.
By following these steps, your plumber guarantees a flawless installation of your new bathroom fixtures, combining aesthetics with optimal functionality. This ensures you can enjoy a beautiful and trouble-free bathroom experience for years to come.
Step 3: Installation of Electrical Fixtures
The strategic placement and installation of electrical fixtures are crucial for illuminating your bathroom’s beauty and ensuring its functionality. This step involves integrating your chosen lighting elements and electrical components to create a safe, well-lit, and aesthetically pleasing space.
- Selecting the Perfect Lighting Scheme: Choosing the right electrical fixtures goes beyond aesthetics. Your contractor or a qualified electrician can guide you in selecting lighting that provides task lighting for essential areas like the vanity and shower, while also incorporating ambient lighting to create a desired atmosphere. Energy-efficient options can also be explored to promote sustainability and cost savings.
- Safety First: Electrical Code Compliance: Electrical work should always prioritize safety. Our skilled electricians will ensure that all installations adhere to strict local electrical codes. This minimizes the risk of electrical hazards and ensures the safe operation of your bathroom’s electrical system.
- Testing and Verification: After installation, all electrical connections and fixtures will be meticulously tested using specialized equipment. This verifies proper functionality, grounding, and safety features like GFCI outlets in areas with water exposure.
By following these steps, our electricians guarantee a safe and well-lit bathroom that meets your design preferences and functional needs. You’ll have peace of mind knowing your new bathroom is not only beautiful but also adheres to the highest safety standards.
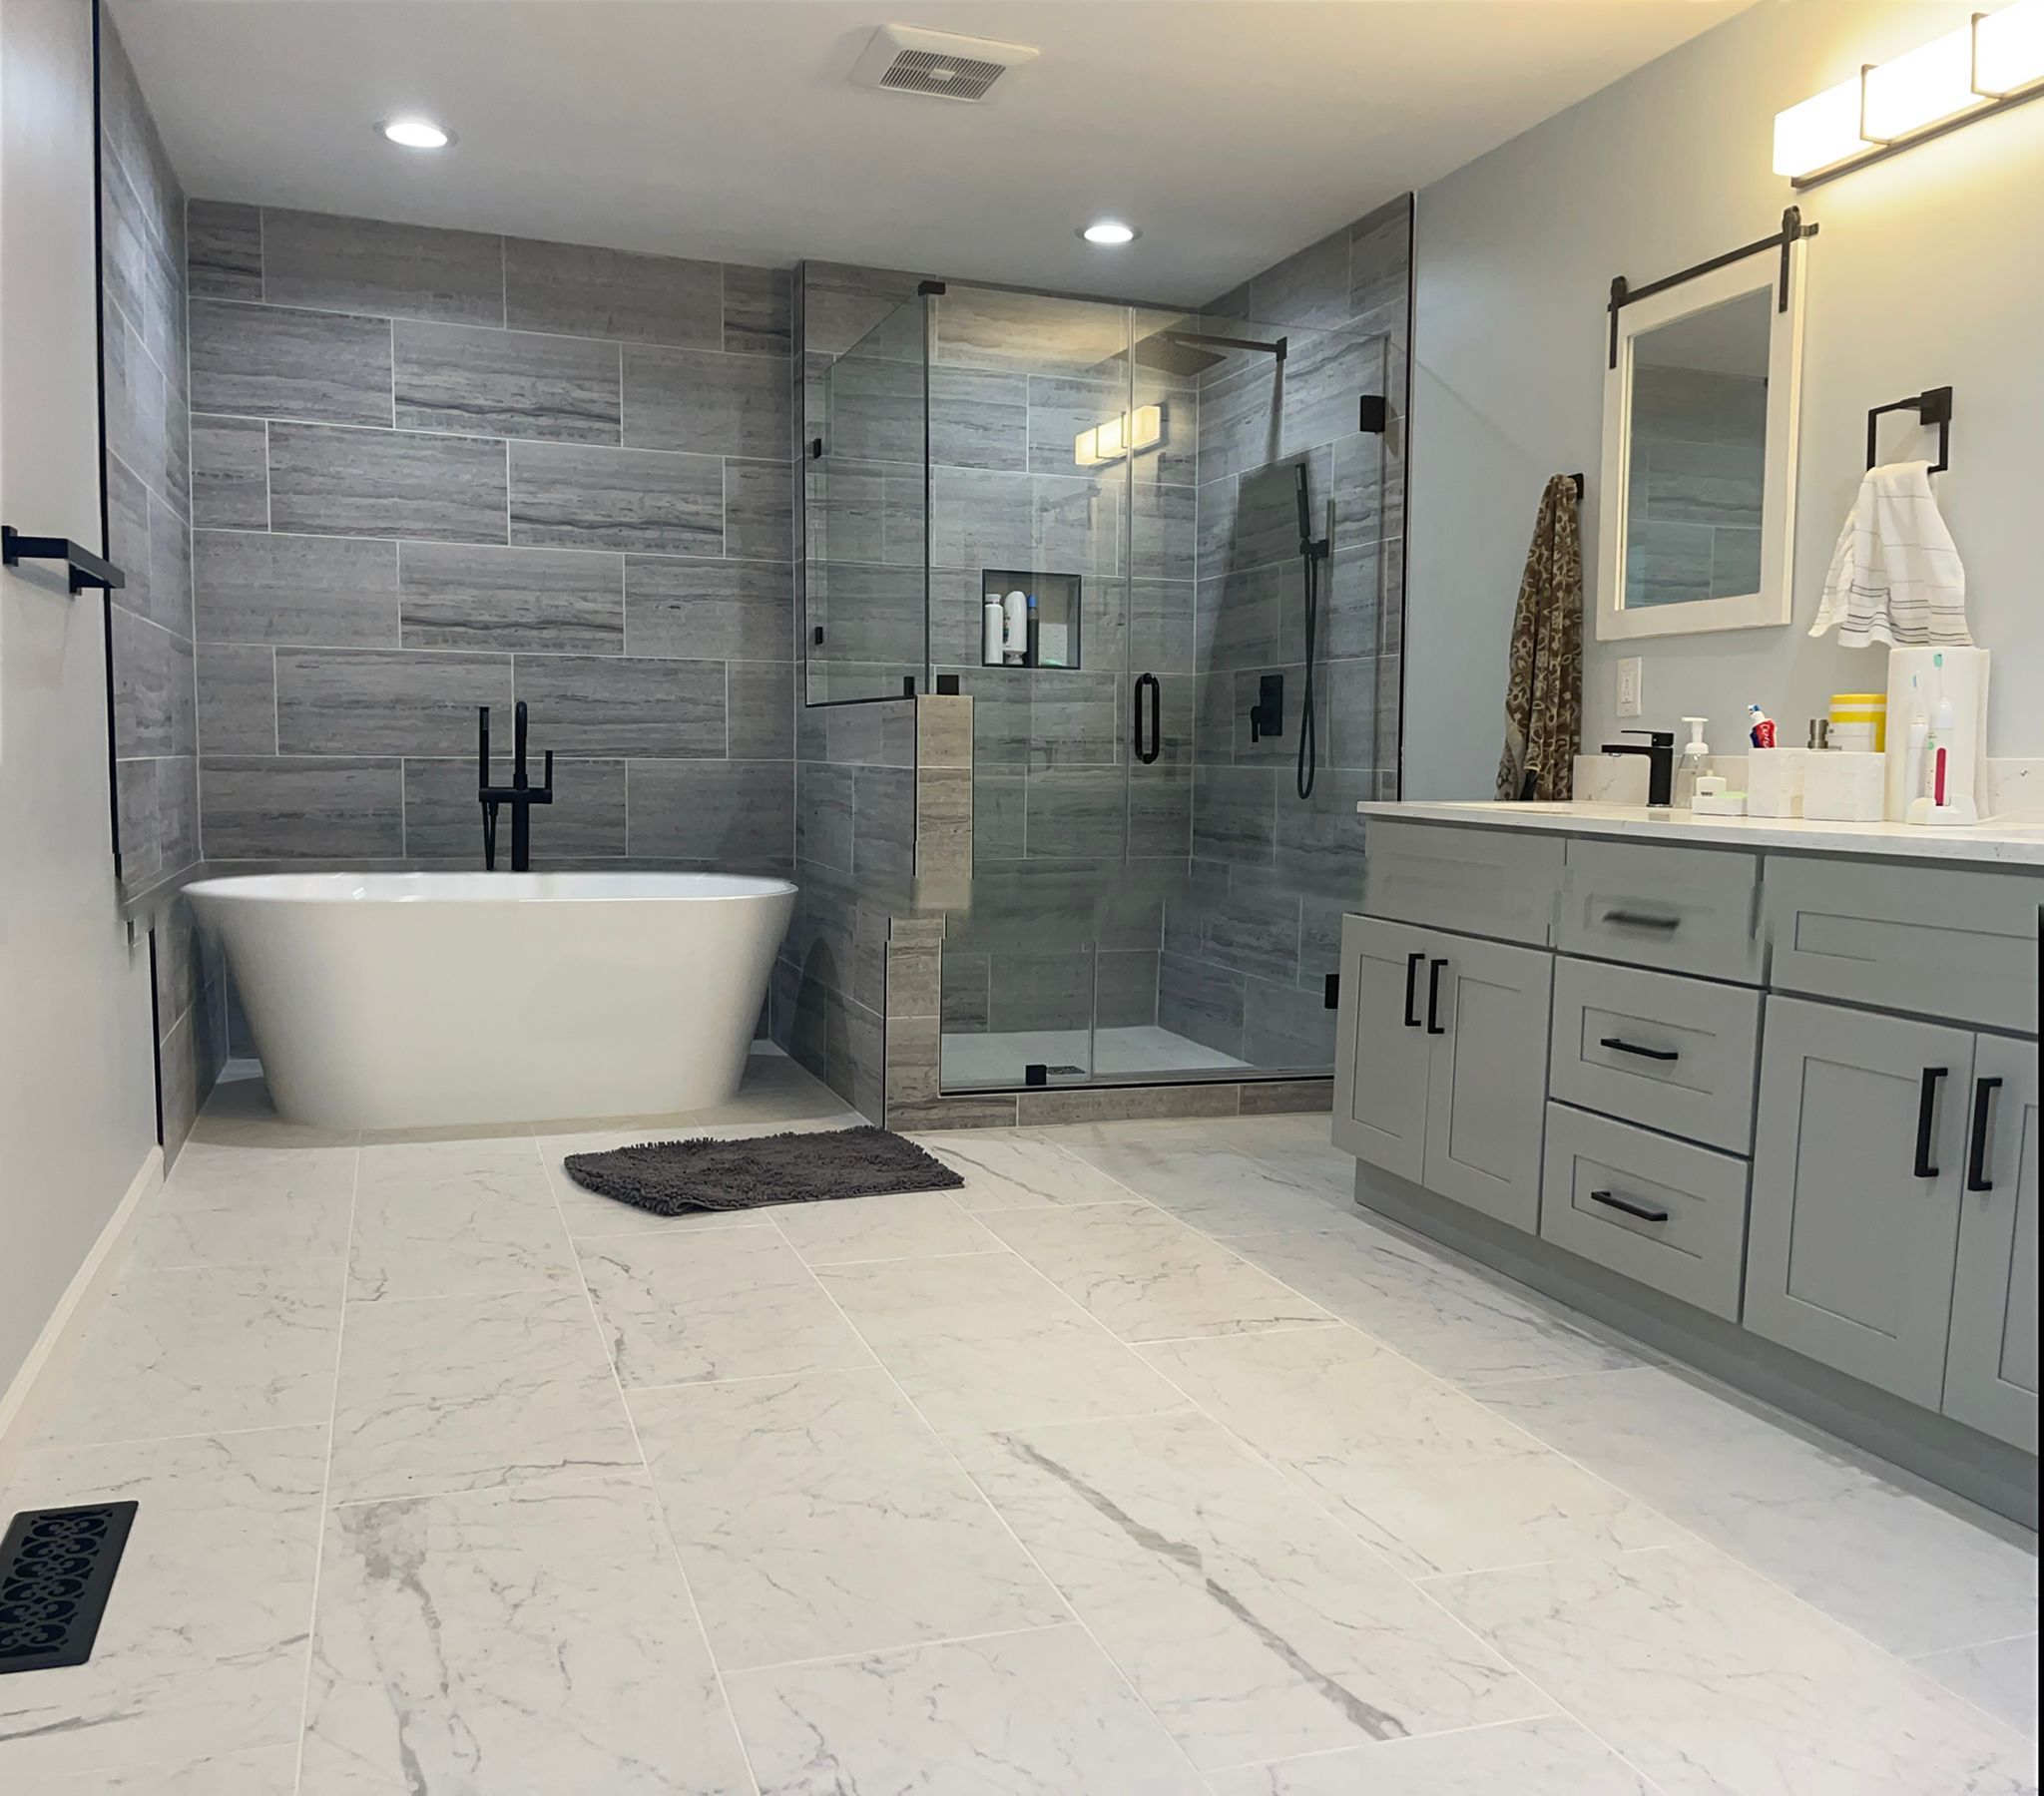
Flooring and Wall Finishes
Step 1: Subfloor Preparation and Installation
The subfloor serves as the hidden foundation for your beautiful new bathroom floor. Proper subfloor preparation ensures a level, stable, and moisture-resistant base for your chosen flooring material, preventing future issues like cracking or uneven tiles. This step involves a meticulous evaluation and potential repair or replacement of the existing subfloor, followed by the installation of a suitable underlayment material.
Subfloor Evaluation: A Keen Eye for Detail
Our flooring experts will begin with a thorough inspection of your existing subfloor. This evaluation focuses on two key aspects:
- Levelness: Using specialized tools, they will check for any dips, slopes, or unevenness in the subfloor. A perfectly level subfloor is crucial for a flawless final floor installation.
- Damage Assessment: The inspection will also identify any signs of damage such as rot, warping, or loose floorboards. Early detection and repair of these issues prevent them from compromising the integrity of your new floor.
Repair or Replace: Ensuring a Solid Base
Depending on the findings of the subfloor evaluation, repairs might be necessary. Minor imperfections can often be rectified by sanding down high spots or filling in minor dips with leveling compounds. For more extensive damage, sections of the subfloor might need to be replaced entirely.
Subfloor Installation: Choosing the Right Material
Once the existing subfloor is prepped, it’s time to install a new underlayment specifically designed for bathroom use. This underlayment provides several benefits, including:
- Moisture Resistance: Bathrooms are inherently prone to moisture. A waterproof underlayment creates a barrier to protect the subfloor and new flooring material from moisture damage.
- Improved Stability: Underlayment adds an extra layer of stability to the subfloor, preventing any flexing or movement that could lead to cracking or warping of the final floor.
- Sound Dampening: Certain underlayment materials offer soundproofing qualities, reducing noise transmission within your bathroom and to adjacent rooms.
Our flooring experts will advise on the most suitable underlayment material based on your chosen final floor and your specific needs. They will then meticulously install the underlayment, ensuring a smooth and level surface ready for the next stage of your bathroom transformation.
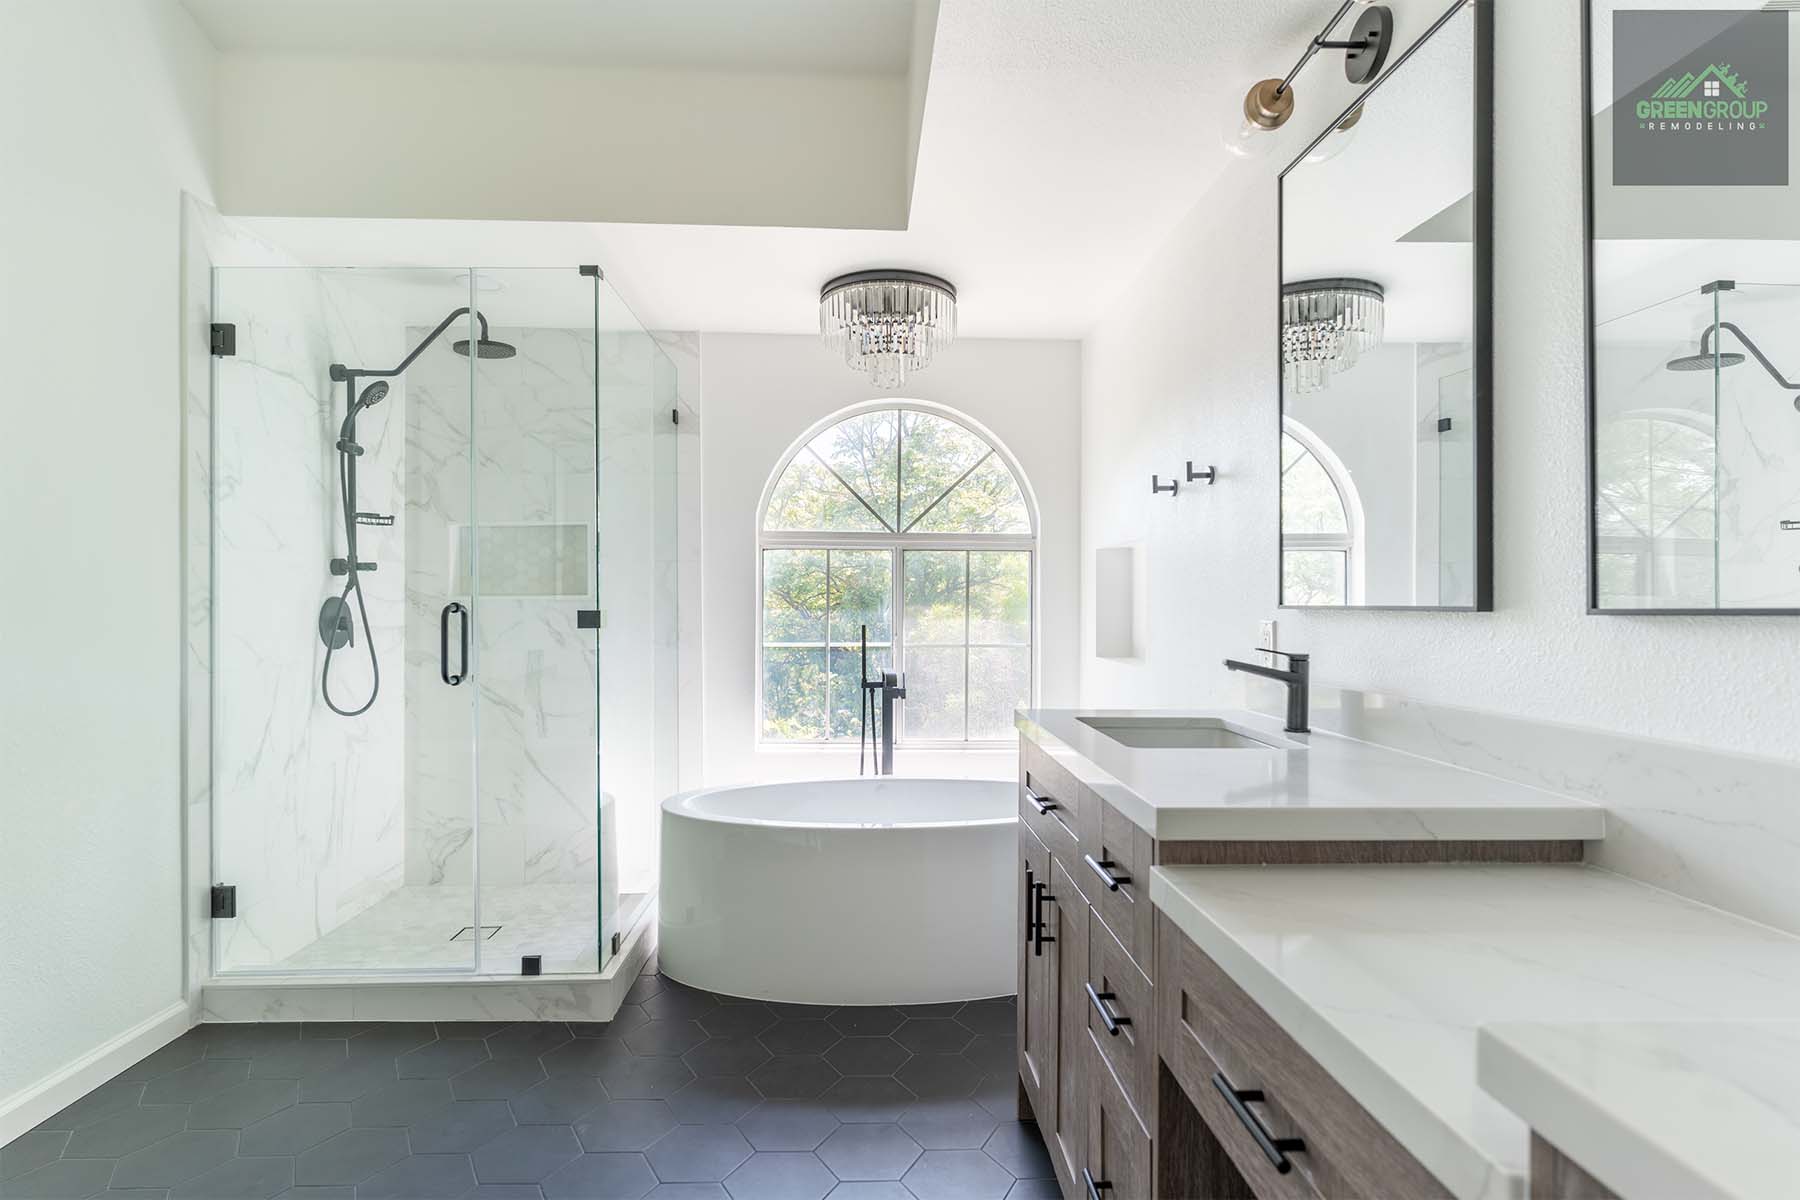
Step 2: Installation of Wall Finishes
Wall finishes play a major role in defining the aesthetics and functionality of your bathroom. This step involves covering your walls with beautiful and durable materials that complement your overall design vision.
Selecting the Perfect Wall Finish
When choosing wall finishes, two key factors come into play: moisture resistance and aesthetics. Bathrooms are inherently exposed to moisture, so opting for moisture-resistant materials is crucial to prevent water damage, mold growth, and peeling or warping over time.
Here are popular options to consider:
- Tile: A timeless and classic choice, tile offers exceptional durability, moisture resistance, and a wide range of styles, colors, and patterns.
- Stone: Natural stone finishes like granite or marble elevate the luxurious appeal of your bathroom. However, stone requires special sealants for moisture protection.
- Laminate Panels: A cost-effective option, laminate panels offer a moisture-resistant and easy-to-maintain surface with a wide variety of design options.
- Waterproof Paint: High-quality waterproof paint provides a durable, low-maintenance finish and is available in a vast color palette. However, it might not be suitable for areas with direct water spray.
Surface Preparation: Creating a Flawless Canvas
Before applying any wall finish, meticulous surface preparation is essential. Our team will ensure your walls are clean, free of dust, dirt, or debris, and properly leveled. For some materials, like tile or wallpaper, existing wall surfaces might need to be primed or sealed to create a suitable base for optimal adhesion.
Expert Application for Lasting Results
Once the walls are prepped, our skilled professionals will meticulously install your chosen wall finish according to the manufacturer’s specifications. This ensures a flawless application that protects your walls, enhances the aesthetics of your bathroom, and creates a durable and long-lasting finish you’ll enjoy for years to come.
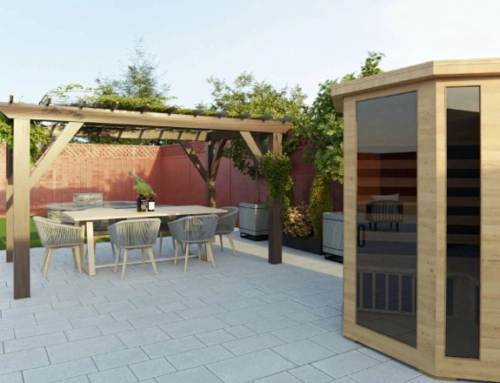
Redefine Your Space with Green Group Remodeling
Experience the transformation you’ve been dreaming of with Green Group Remodeling. From stunning designs to eco-friendly solutions, we bring your vision to life. Explore what our satisfied clients have to say about their remodel journey!
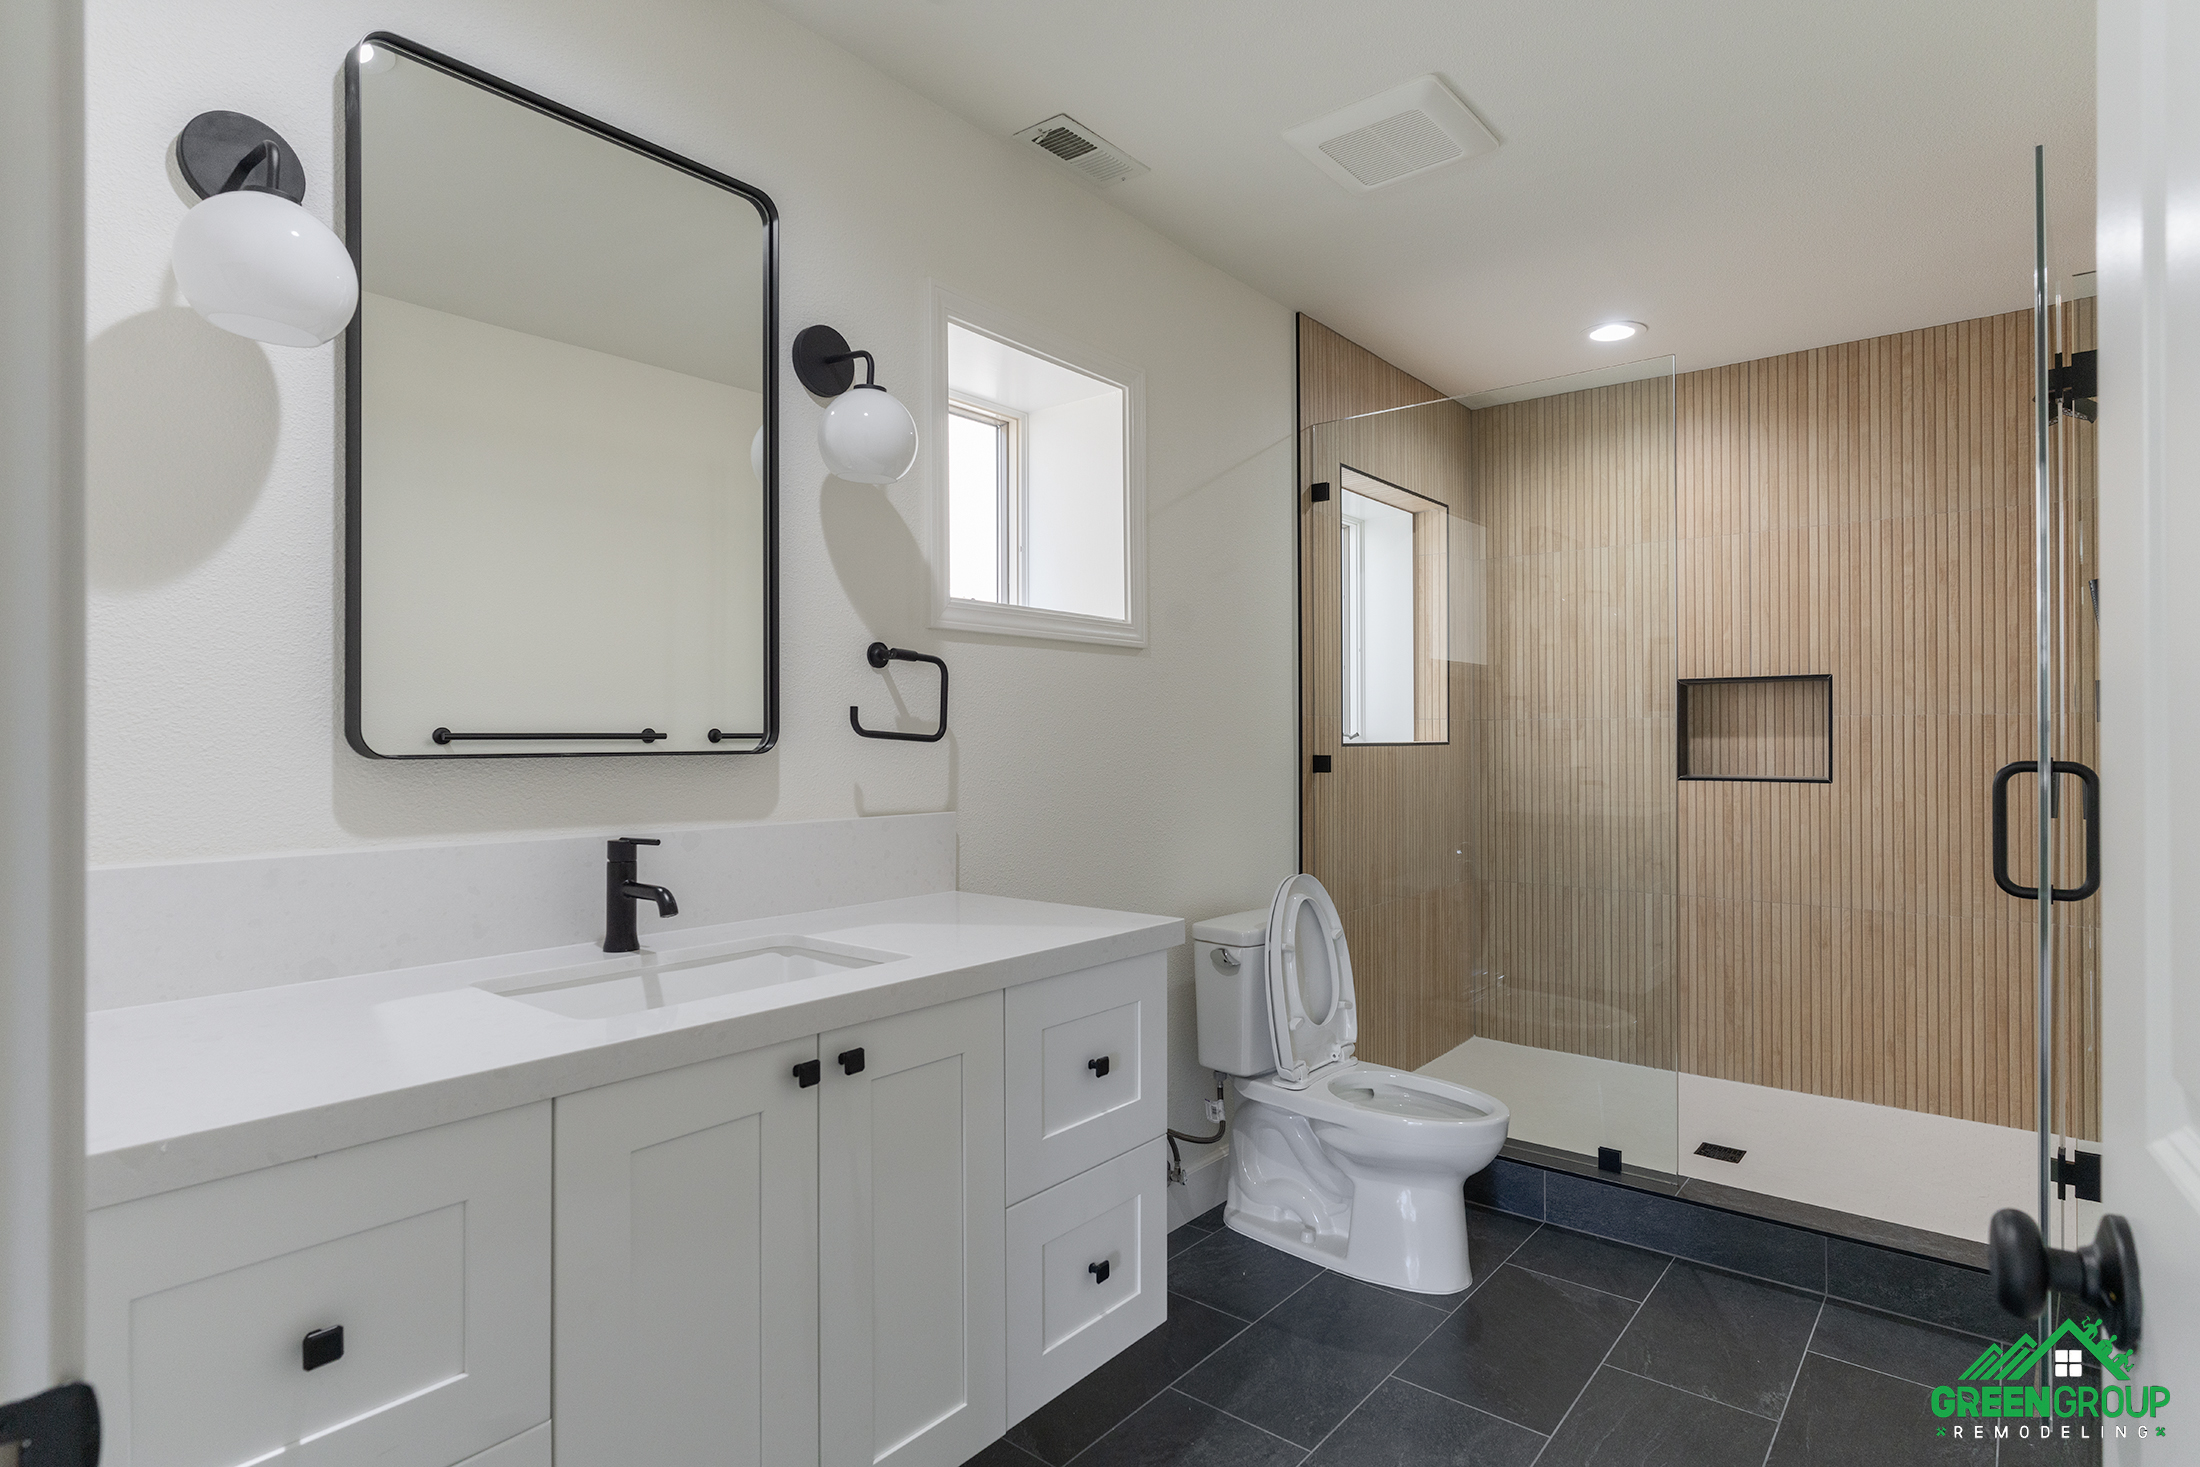
Final Touches and Customization
Step 1: Installation of Accessories and Decorative Elements
The final stage of your bathroom remodel is all about personalization and adding those special finishing touches that elevate your space from ordinary to extraordinary.
In this step, we’ll guide you through selecting and installing accessories and decorative elements, transforming your bathroom into a space that reflects your unique style and personality.
Selecting the Perfect Finishing Touches
This exciting step allows you to express your creativity! We’ll collaborate with you to choose bathroom accessories and decorative elements that not only complement your overall design scheme but also enhance functionality.
Here are some considerations to guide your selections:
- Functionality: Incorporate accessories that cater to your needs, such as towel racks, robe hooks, toilet paper holders, and soap dispensers.
- Aesthetics: Elevate the visual appeal of your space with decorative elements like mirrors, artwork, plants, or decorative lighting fixtures.
- Cohesiveness: Ensure all your selections tie in seamlessly with your chosen finishes, fixtures, and overall design style.
Strategic Placement and Installation
Once you’ve finalized your selections, our team will expertly place and install each accessory and decorative element. This step goes beyond simply mounting items on walls. We’ll ensure towel racks and shelves are positioned for convenient use, mirrors maximize light and space, and artwork creates a visually balanced and appealing composition.
Integration and Final Flourishes
For certain elements, like towel warmers or illuminated mirrors, flawless integration with electrical wiring might be required. Our skilled professionals will ensure all electrical connections are safe and secure.
Finally, we’ll add those final flourishes that personalize your space. This might involve arranging bathroom essentials like towels and toiletries, or incorporating decorative items like candles or vases with fresh flowers.
By collaborating with you and meticulously attending to every detail, we’ll transform your bathroom into a haven that is both functional and utterly unique, reflecting your distinctive style and providing you with a space to relax and recharge.
Step 2: Final Inspection and Cleaning: The Finishing Touches
With the final decorative elements in place, it’s time to ensure everything is perfect before you unveil your stunning new bathroom. This two-part step involves a meticulous inspection followed by a thorough cleaning, guaranteeing a flawless and pristine space you can enjoy for years to come.
Quality Check: A Keen Eye for Detail
Our commitment to quality extends to the very last detail. Our team will conduct a comprehensive final inspection of your entire bathroom remodel. This inspection involves meticulously checking all aspects of the work against the highest quality standards, including:
- Fixtures and Functionality: Verifying that all fixtures, from faucets and showerheads to toilets and vanities, operate smoothly and flawlessly.
- Finishes and Installations: Ensuring flawless application of wall finishes, secure installation of fixtures and accessories, and proper sealing around areas prone to moisture exposure.
- Building Codes and Safety: Confirming compliance with all local building codes and safety regulations.
Rectification: Addressing Any Discrepancies
If any minor issues are identified during the inspection, our team will promptly address them. This might involve adjusting a cabinet door, re-caulking a small area, or replacing a faulty fixture. Our goal is to ensure complete satisfaction before considering the project finished.
Cleaning: The Finishing Touch
Once the final inspection is complete, we’ll perform a deep clean of your entire bathroom. This meticulous cleaning removes any dust, debris, or construction materials left behind during the renovation process. We’ll leave your bathroom sparkling clean and completely move-in ready, allowing you to immediately begin enjoying your beautiful new space.
From Dream to Reality: Your Perfect Bathroom Awaits
By following these steps and partnering with our team of experts, you can transform your bathroom dream into a reality. Our commitment to excellence starts in the initial planning stages and continues through every detail of the construction process, culminating in a final inspection and deep clean that ensures a flawless and functional bathroom.
We understand that your bathroom is a personal sanctuary. Trust our insights and guidance to create a space that reflects your unique style, meets your individual needs, and adds significant value to your home. Contact Green Group Remodeling today to schedule a consultation and embark on the journey of creating your dream bathroom!